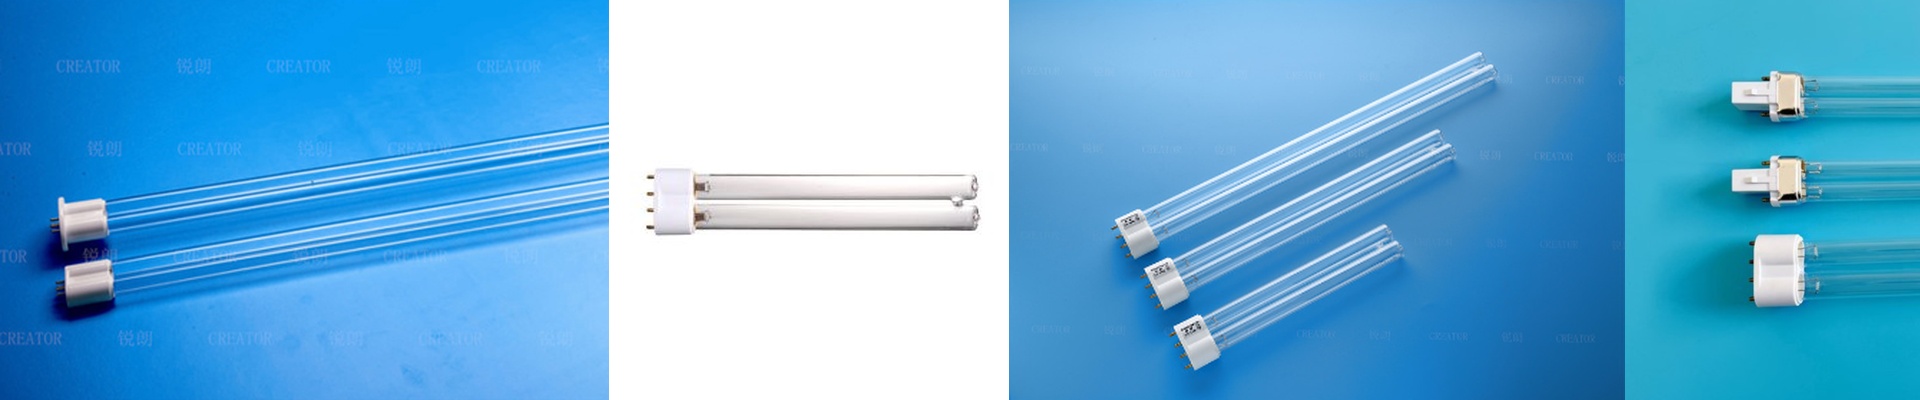
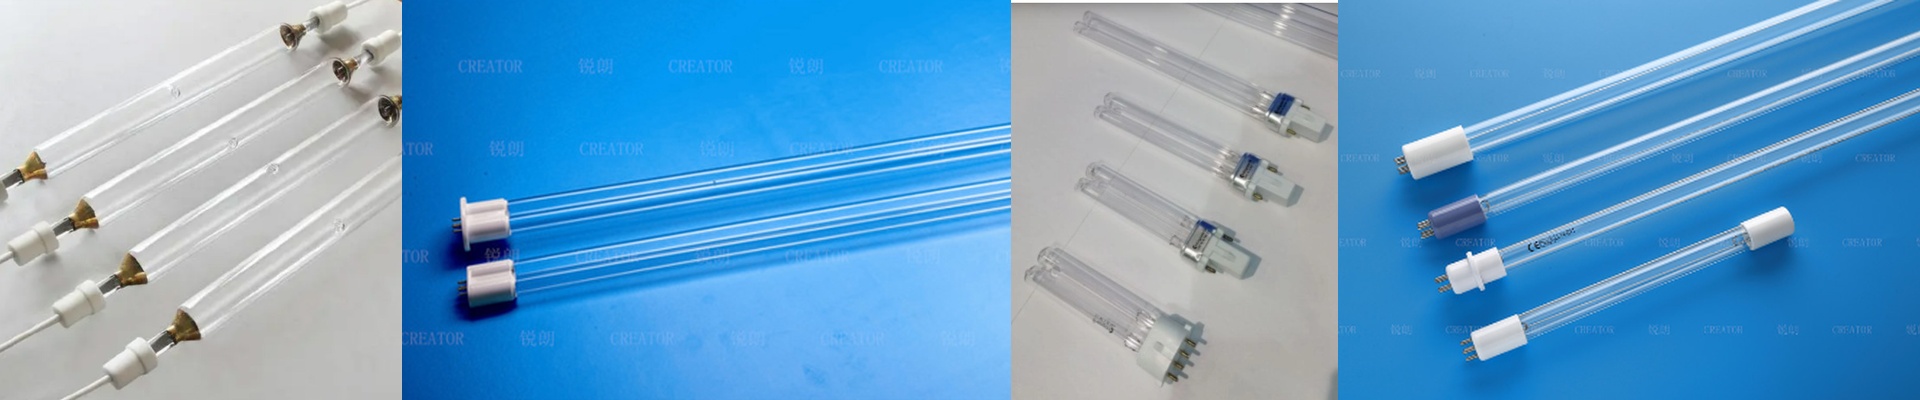
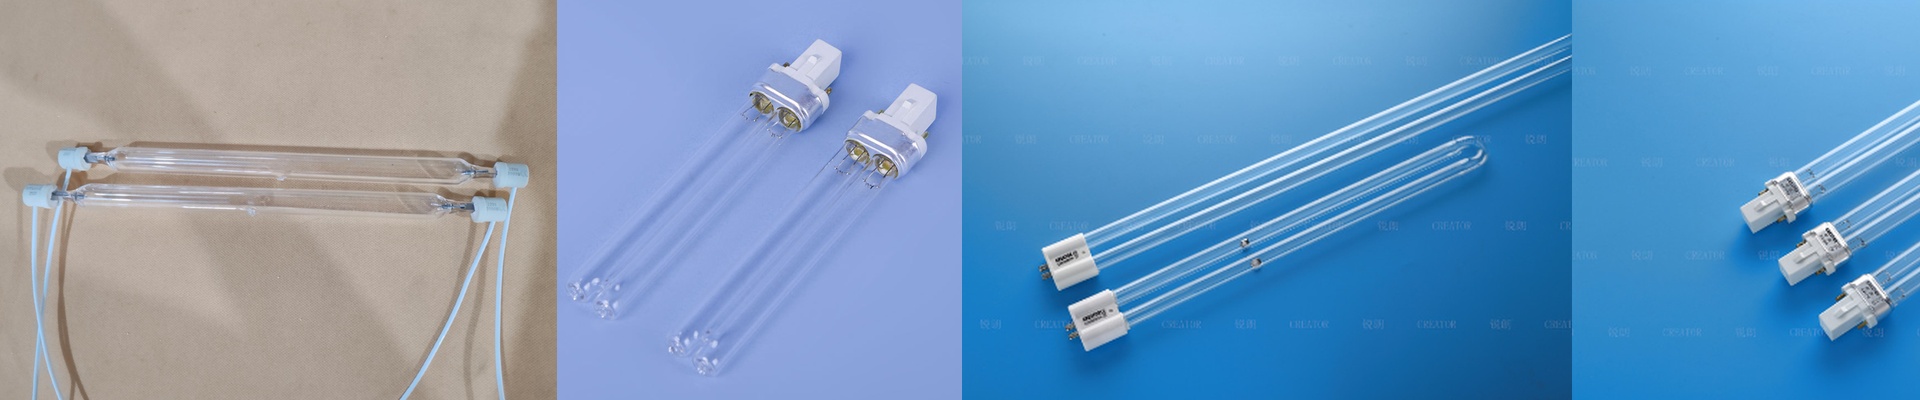
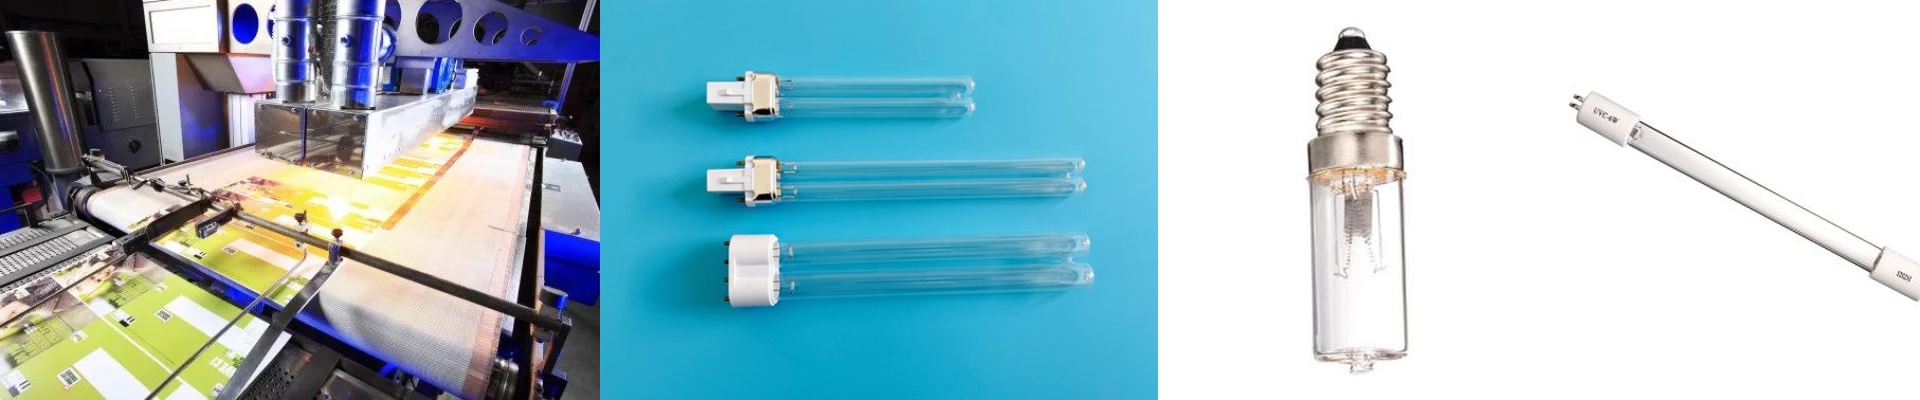
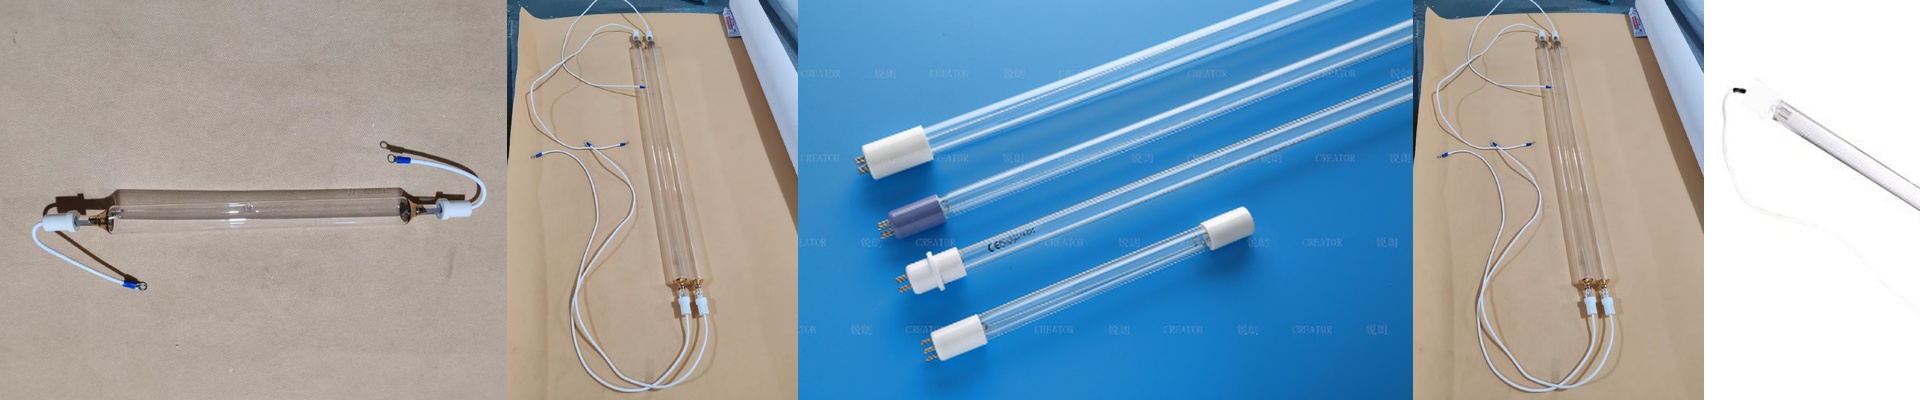
Getting the Most Out of Your 120W/cm Mercury UV Lamp
If you’re running a high-speed printing or coating line, you know the drill. You need your inks and adhesives to snap-cure the second they hit the conveyor. No smudging, no peeling, no headaches. That’s why we build our mercury UV lamps at 120W/cm. It’s all about hitting that sweet spot of UV-C and UV-B spectra to get the job done fast. The Heat Trade-Off Here is the thing about that 120W/cm rating: it’s a lot of power packed into a small space. The upside? You get a concentrated burst of energy, which means you can move the lamp closer to your product and shrink the overall footprint of your machine. But there’s a catch. All that energy creates a ton of heat. If your cooling fans are dusty or your water jackets aren’t up to the task, you’re asking for trouble. You’ll end up burning out the lamp ends or warping your reflectors, and nobody wants to deal with that mid-shift. Why Mercury? We stick with mercury-discharge because it gives us those sharp emission lines you need for a deep cure. We’ve wrapped it in a quartz envelope that can handle the internal pressure without blocking the UV rays. We specifically target those 254nm and 365nm peaks. Why? Because they actually penetrate the ink layers. It’s the difference between a surface-level dry and a cure that actually holds. Keeping Things Running These lamps are designed to be simple drop-in replacements. Just pop them into your existing arrays and you’re good to go. One quick tip: double-check that your ballast matches the operating current. If it’s off, you’ll see flickering or the filament will give out way too soon. And please, keep an eye on your hour-meter. Mercury vapor wears down over time, and your cure rate will dip along with it. You’ll notice the ink starting to feel a bit tacky—that’s your warning sign. Swap the tube then, before your quality control team starts flagging your parts.