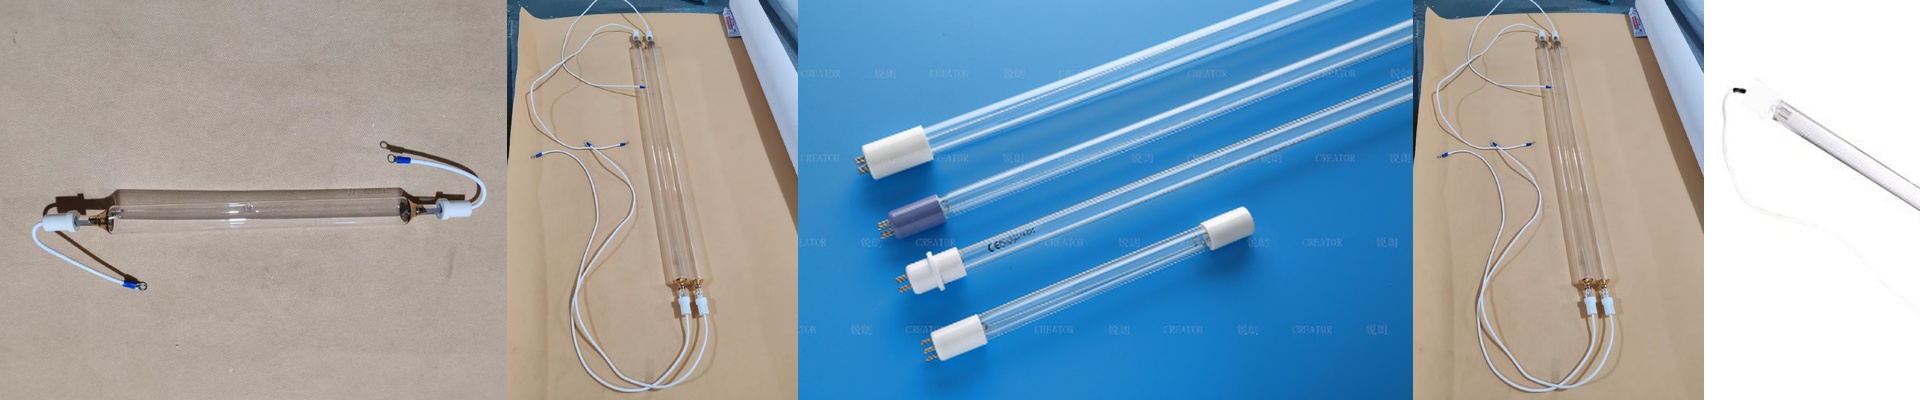
Getting UV Curing Right for High-Speed Printing
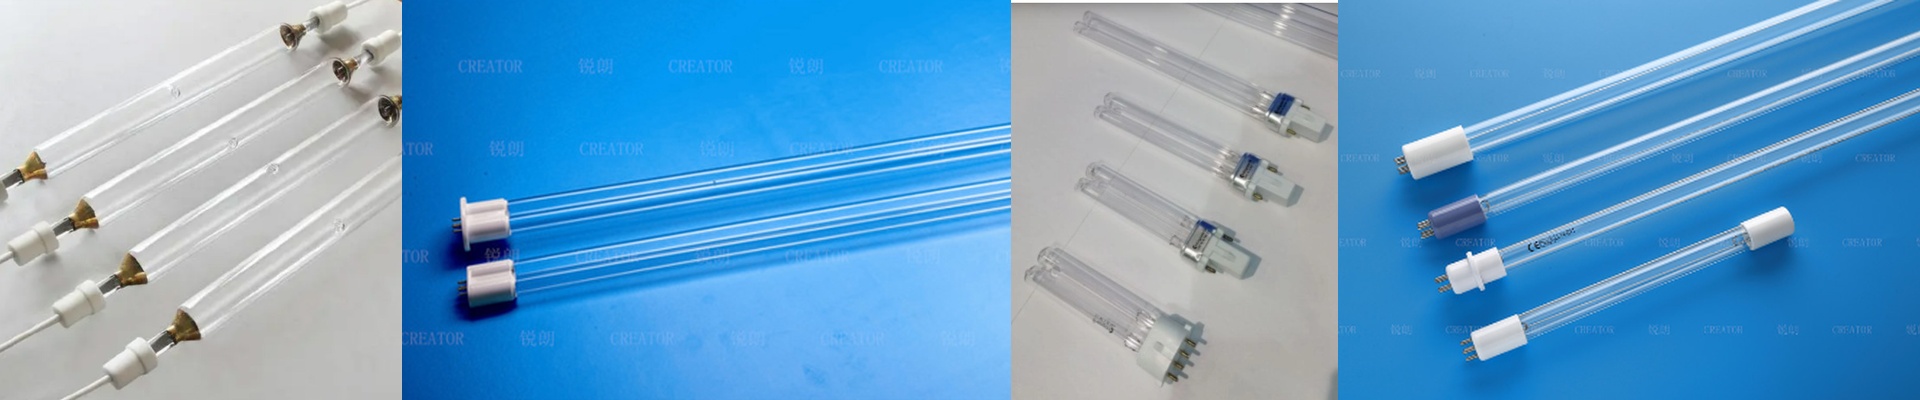
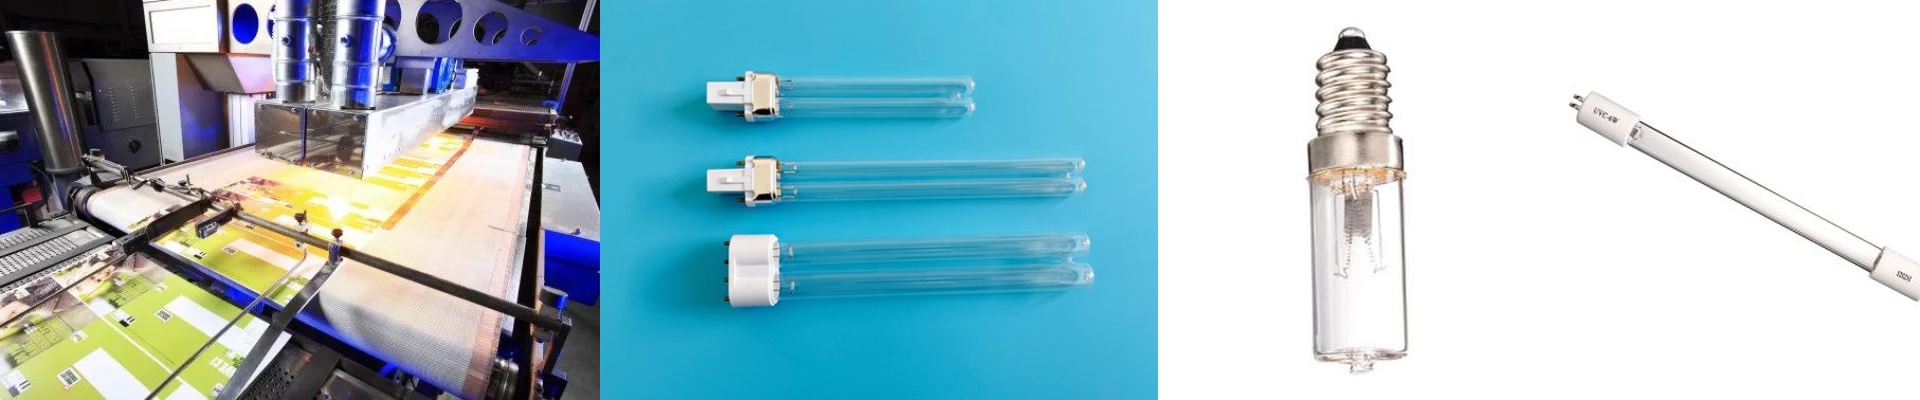
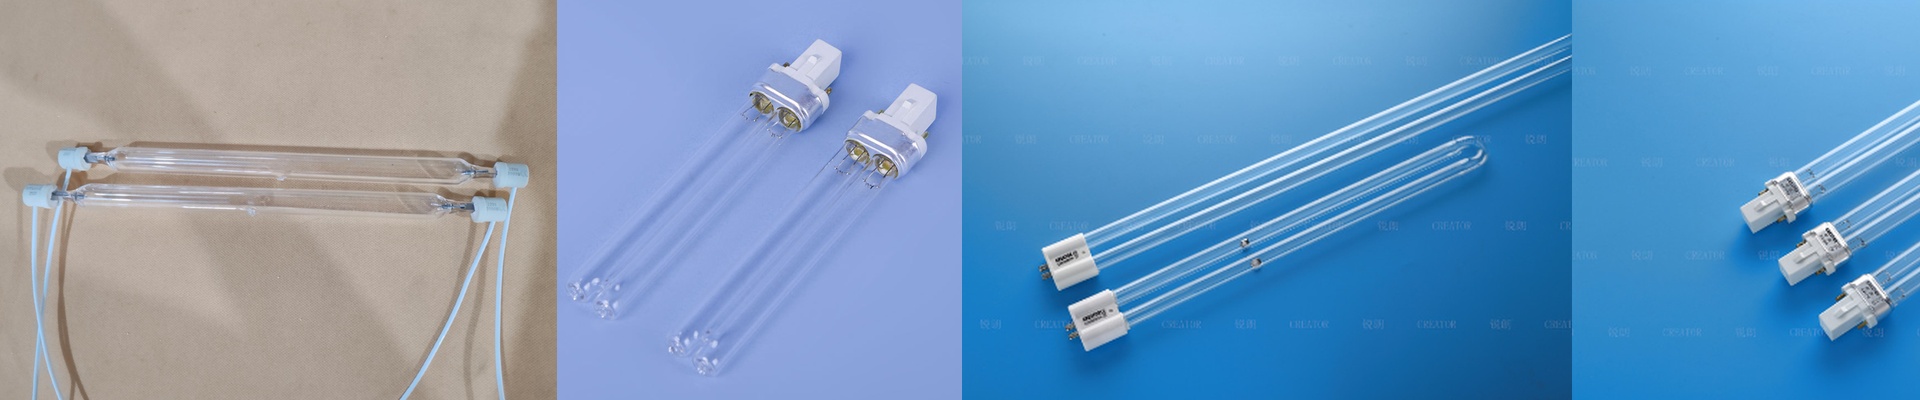
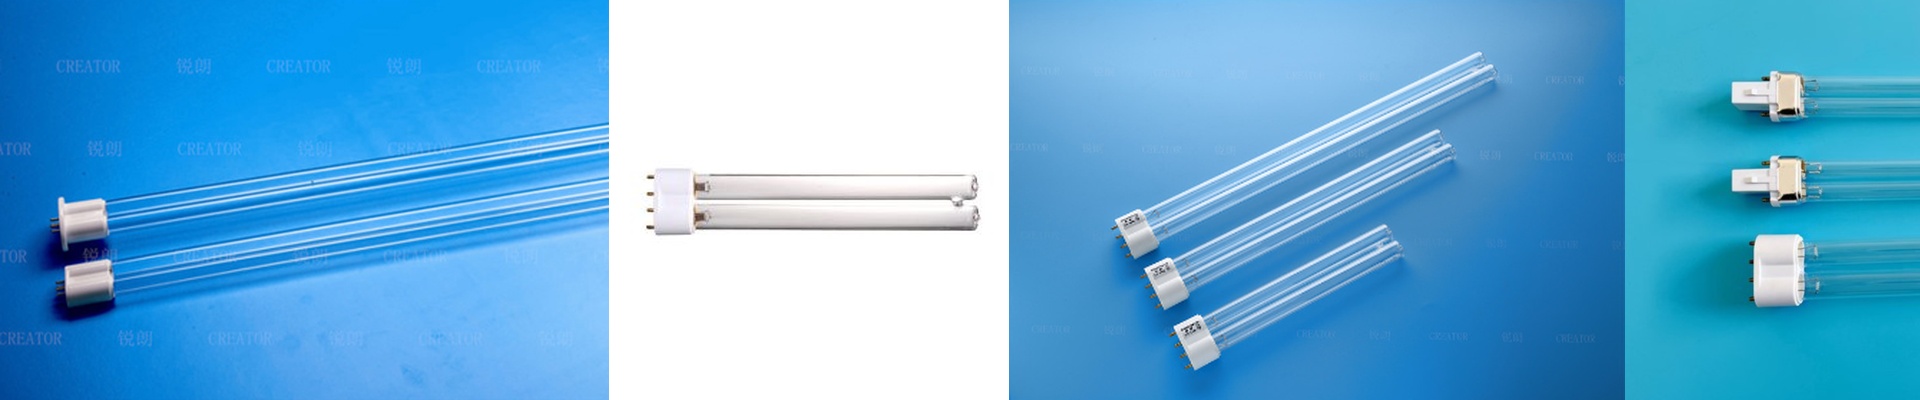
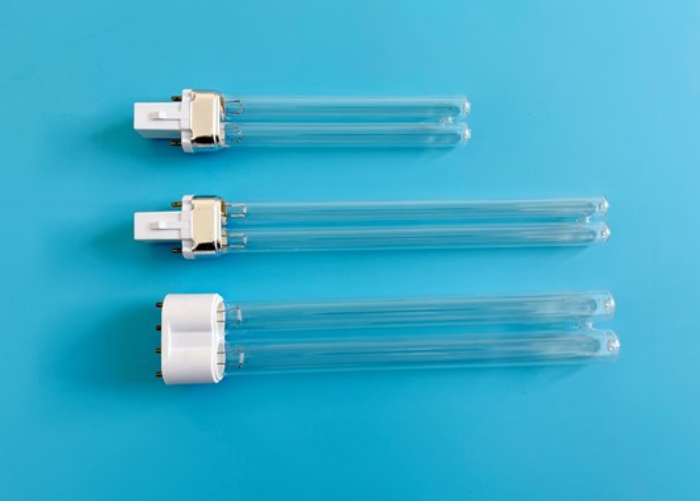
Most suppliers just sell you a bulb, ship it out, and call it a day. We don’t work like that. In the printing and textile world, a lamp is only as good as the actual cure you get on your material. If your ink feels tacky or your colors are drifting, a new part isn’t the magic fix. You have to look at the whole curing stage. The balancing act of UV output It really comes down to wattage and wavelength. We build our lamps to hit the specific triggers in your inks to get them to set. Sure, cranking up the wattage makes things move faster. But there’s a catch. More power means more heat. If your conveyor is dragging or your fans can’t keep up, you’re going to end up with bubbled ink or, worse, scorched material. It’s a delicate balance. Making sure it actually fits there is nothing more frustrating than a “drop-in” replacement that doesn’t actually drop in. We obsess over the small stuff—electrode positions and the thickness of the quartz—so the lamp sits perfectly in your reflectors. If it’s off by even a hair, you get “dark spots” on your prints. Then you’re forced to slow down your entire line just to make sure the ink cures. That’s a waste of time. Plus, we offer different connector options so you can just plug it in without having to rewire your power supply or mess with the ballast. Tuning the line Think of us as your technical partners. We want to help you dial in the whole process. We look at the gap between the lamp and the material, how fast your belt is moving, and how the lamp fades over time. Because here’s the thing: UV lamps lose their punch. We’ll help you figure out exactly when to swap them out before the cure rate dips. It’s a lot cheaper to change a bulb on a schedule than it is to throw away a whole batch of ruined prints.