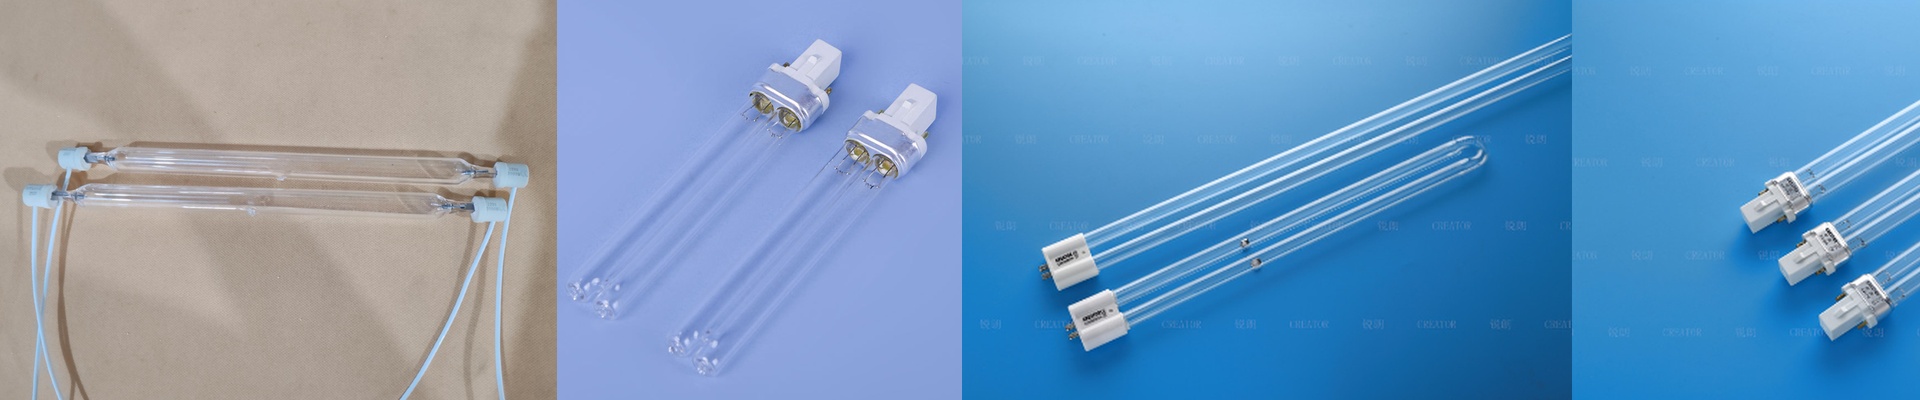
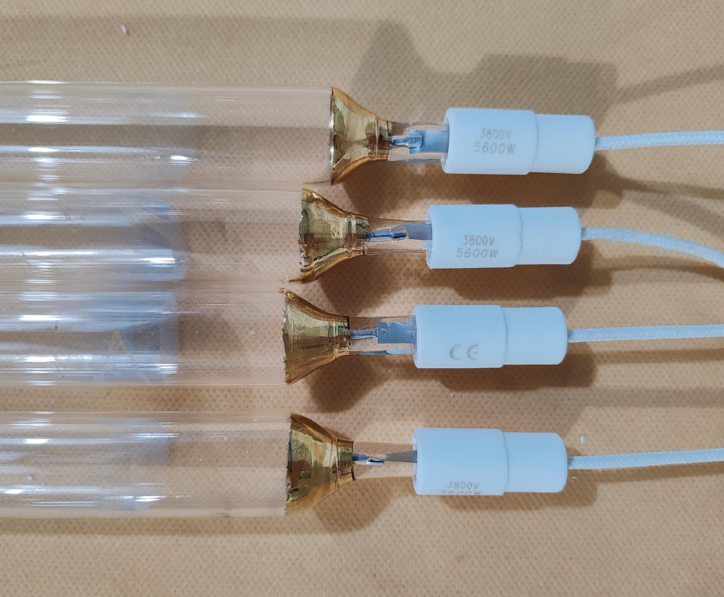
Getting the Most Out of Your Mercury UV Lamps
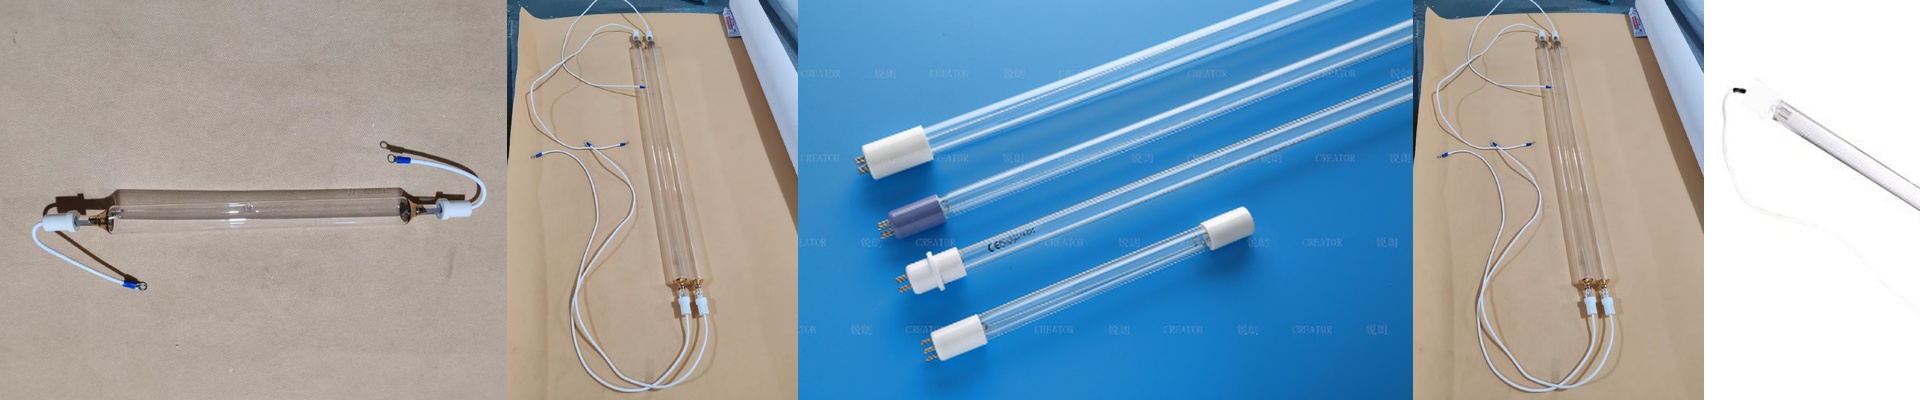
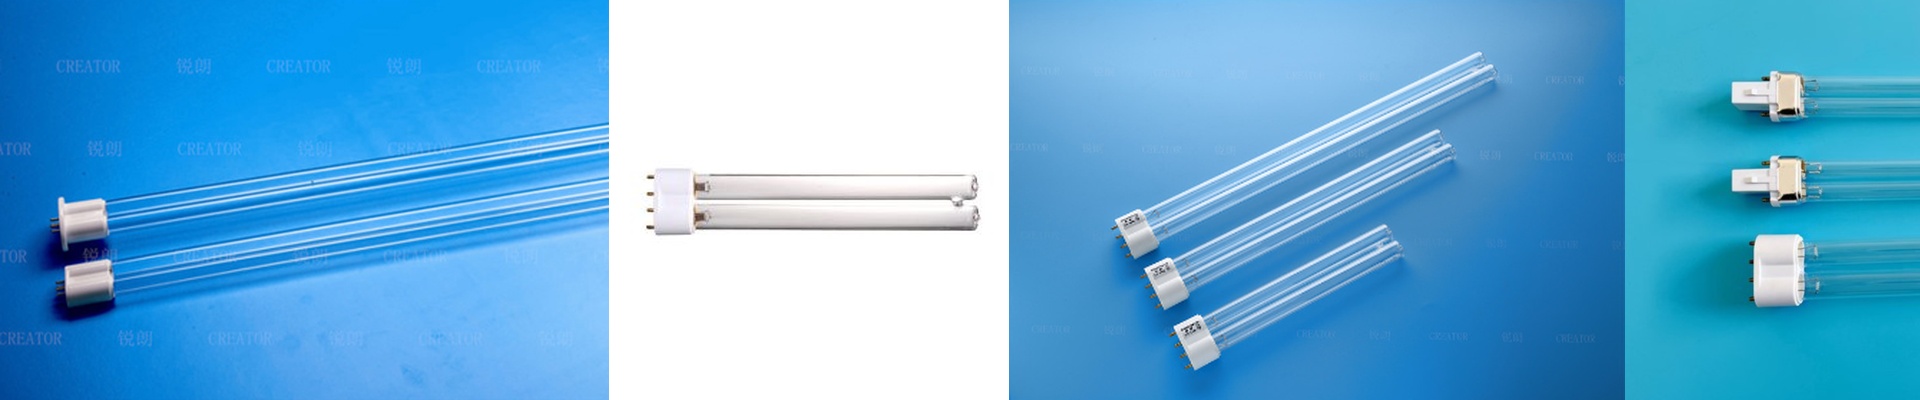
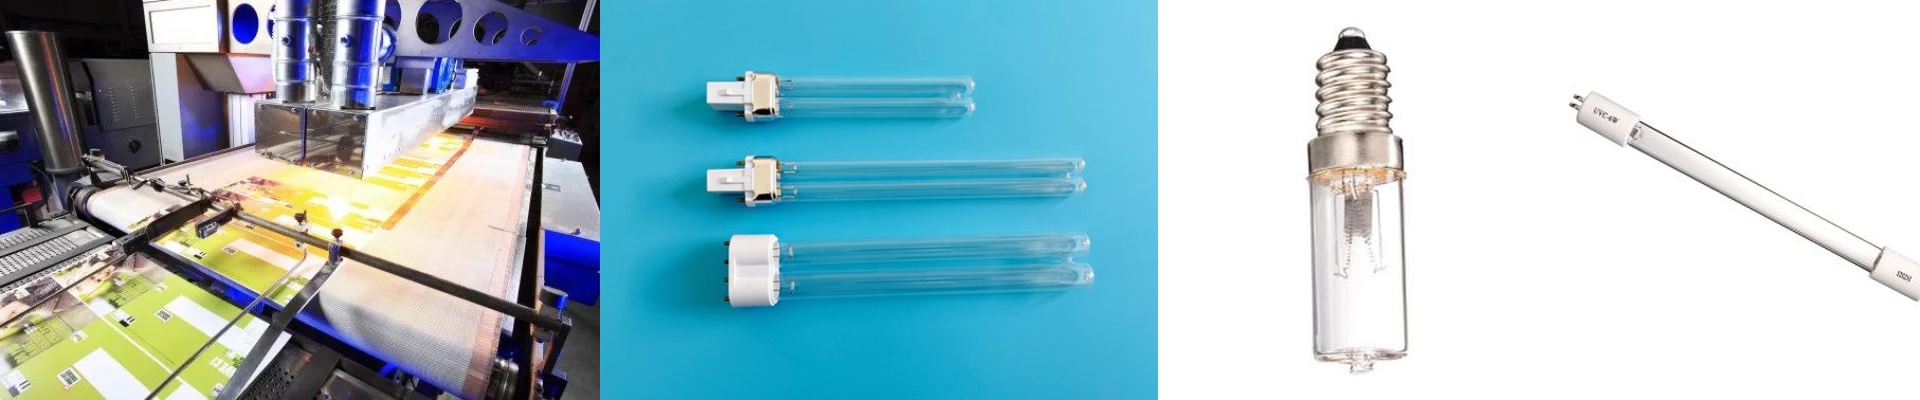
Let’s be honest: mercury UV lamps are the real heavy lifters in textile printing. We design these bulbs to do one thing and do it well—blast enough intensity into your dyes and inks to lock them into the fabric instantly, without accidentally scorching the material.
How it actually works
It’s a bit of a violent process inside the bulb. We send an electric arc through pressurized mercury vapor, which kicks out a concentrated stream of short-wave UV radiation. When that hits your ink, it triggers a reaction. It basically turns liquid monomers into a solid polymer chain in the blink of an eye. This is the secret to keeping your prints sharp and stopping the ink from bleeding or migrating across the fabric. It just stays put.
The balancing act: Heat vs. Speed
Here’s the tricky part. To keep your production line moving fast, you need high wattage. But high wattage means a lot of heat. You’ve got to find the “sweet spot” between your conveyor speed and the lamp’s power. Run the line too slow? You’ll toast your fabric. Run it too fast? The ink won’t cure all the way through to the base, and you’ll be left with a mess. Plus, don’t ignore your cooling system. If it can’t handle the thermal load, you’re risking a cracked quartz envelope, and nobody wants to deal with that mid-shift.
Knowing when to swap them out
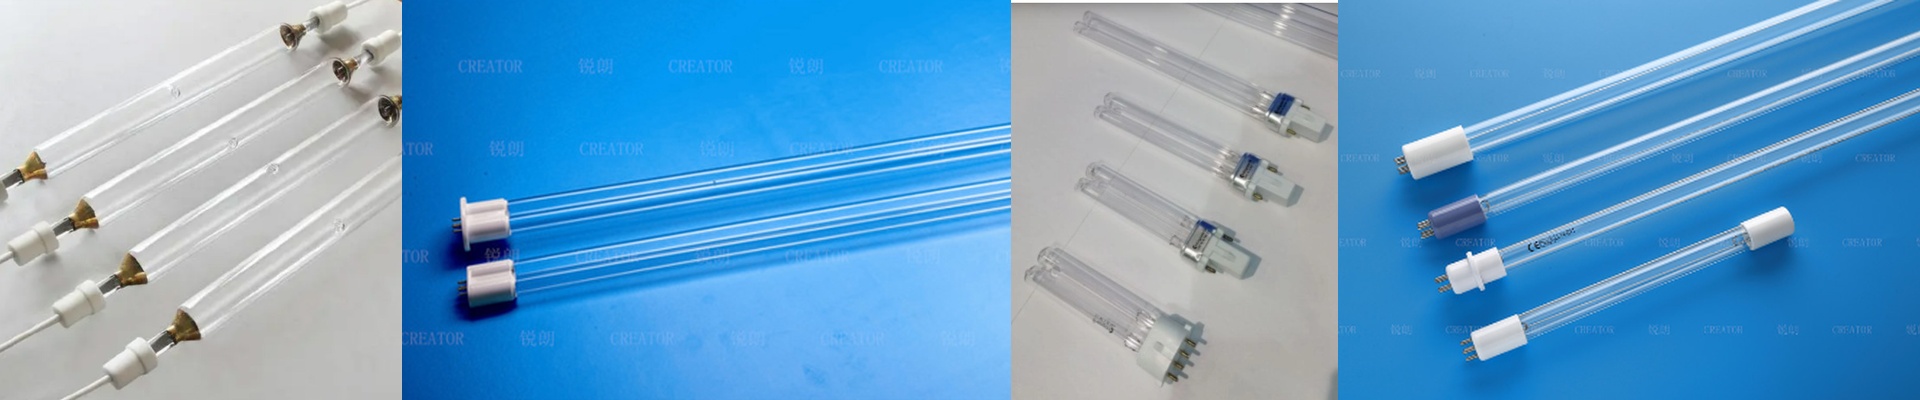
These lamps don’t last forever. Over time, the electrodes wear down and the UV output starts to fade. I always suggest keeping a close eye on the operating hours for every bulb in your array. Once a bulb drops below 80% strength, you’ll start seeing those annoying “wet spots” in your prints. The best move? Replace them in matched sets. It keeps the curing even across the entire width of the fabric. We keep the footprint standardized, so when it’s time for a change, they should just slide right into your curing tunnel without any fuss.